Thursday, 18 December 2014

Palet Breton


First thing first I am feeling so sorry I haven't update my blog nearly a whole yearrrrr!  My job is very busy, family....... and I virtually have no time to bake at all until now.  My apologies :(  It seems to me that I have to start everything about pastry and my blog all over again.... feeling a bit rusty!  So let me start with something easy, simple and most important.... super yummy! Palet Breton just come out of my mind instantly.... simple to make, rich, a bit crunchy, smell so great and I can always eat few in a row without guilt, let's get started!

for a batch of Palet Breton (roughly a dozen), you need...
  • 160 g sugar
  • 220 g all purpose flour
  • 1 teaspoon baking powder
  • three egg yolks
  • 1/2 teaspoon of salt
  • 140 g unsalted butter (room temperature)
  • egg wash
  • l teaspoon rum or liqueur of your choice like Chambord or Cassis
Tasty Palet Bretons are quite easy to make, just a few simple steps and we are done, the only special equipment you need are tart rings. I use stainless steel ones with a size about 80mm in diameter. Its always handy to have a few for tarts, cookies, molds.... Steps of making this wonderful dough...

my directions...
  • firstly, beat egg yolks with sugar together
  • add butter and beat until fluffy
  • sift flour and add salt and baking powder into your fluffy mixture
  • fold until your mixture is homogeneous
  • fold in rum or liqueur 
  • gather your mixture into a big fat disc, wrap it with film and refrigerate till next day

A day's over and next day already :) Firstly, take your dough out from your fridge couple hours before baking and pre-heat your oven to 325F. Have your tart rings ready, divide your dough into 12 equal pieces, roll them into balls and place them into tart rings.  Then use your fingers to flatten them into a disc within tart rings, roughly 1/2 inches thick.  Make sure they are completely flat so they can bake happily!

Now, we can use a pastry brush and paint your palets with some egg wash and score some crisscross pattern with a fork. Wow, they look amazing and ready to be baked!  Bake them in your pre-heated oven for about 15-20 minutes until they become golden....hmm, time to make coffee now!
I can smell a fantastic aroma in my kitchen... hmm smell so good... Can't wait to see these cuties and they are ready in no time. I let them rest inside tart rings for a while first, although I really want to taste a bite rightaway. However, its important to let them rest so they won't break, but at least I can enjoy their amazing colour for now!
  
Finally, after some resting they will shrink a tiny bit and its time to let them out! I should let these little treats rest a bit longer on a rack until they cool completely, but I can't wait and have to try a bite. Hmm... a bit crunchy, rich, buttery, taste so good with my coffee. One is definitely not enough and I had two so far haha!  I save the rest in airtight container and probably they will all vanish in a couple days!!


Enjoy!

Thursday, 30 January 2014

The Daring Bakers' January, 2014 Challenge: Baumkuchen


For the April Daring Bakers' Challenge, Francijn of "Koken in de Brouwerij". She challenged us all to bake layered cakes in the tradition of Baumkuchen (tree cake) and Schichttorte (layered cake). We were to follow the Baumkuchen (tree cake) and Schichttorte technique of smearing thin layers of batter on top of each other, and baking them one by one, so creating a layered cake structure. Originally, Baumkuchen is supposed to bake on a big spit and this challenge recipe is a layered cake version. I am very excited as this is my first Bakers' challenge in 2014 and I have been away for a while and can't wait to get back! I have tried a couple Baumkuchen recipes but they always on dry side, this recipe looks amazing, so I am going to try it!

For this amazing Baumkuchen, I follow most of the original recipe and scale it down by one third since my cake pan is a bit smaller, 

you need
  • four large eggs (room temperature and separated)
  • pinch of salt
  • 80 g sugar 
  • 100 g marzipan (crumbled)
  • 134 g softened unsalted butter
  • 38 g butter (room temperature) and more for mold
  • 67 g confectioner's sugar
  • 5 g vanilla powder (suppose to use vanilla sugar)
  • 67 g AP flour (sifted)
  • nappage (see recipe below)
  • dark chocolate glaze

Making this amazing Baumkuchen needs a bit time, patience and preparation. Once you get your batter ready, you need to bake your cake layer by layer. Okay, let's start my Baumkuchen time....

directions

First thing is to preheat your oven to 450 F, grease you cake pan with butter and line it with parchment paper. Beat egg white in a clean dry bowl until foamy, add salt when it become soft peak. Add sugar in a few additions and beat until it become stiff.... about five minutes or so. Hmm my egg whites looks like snow white now....
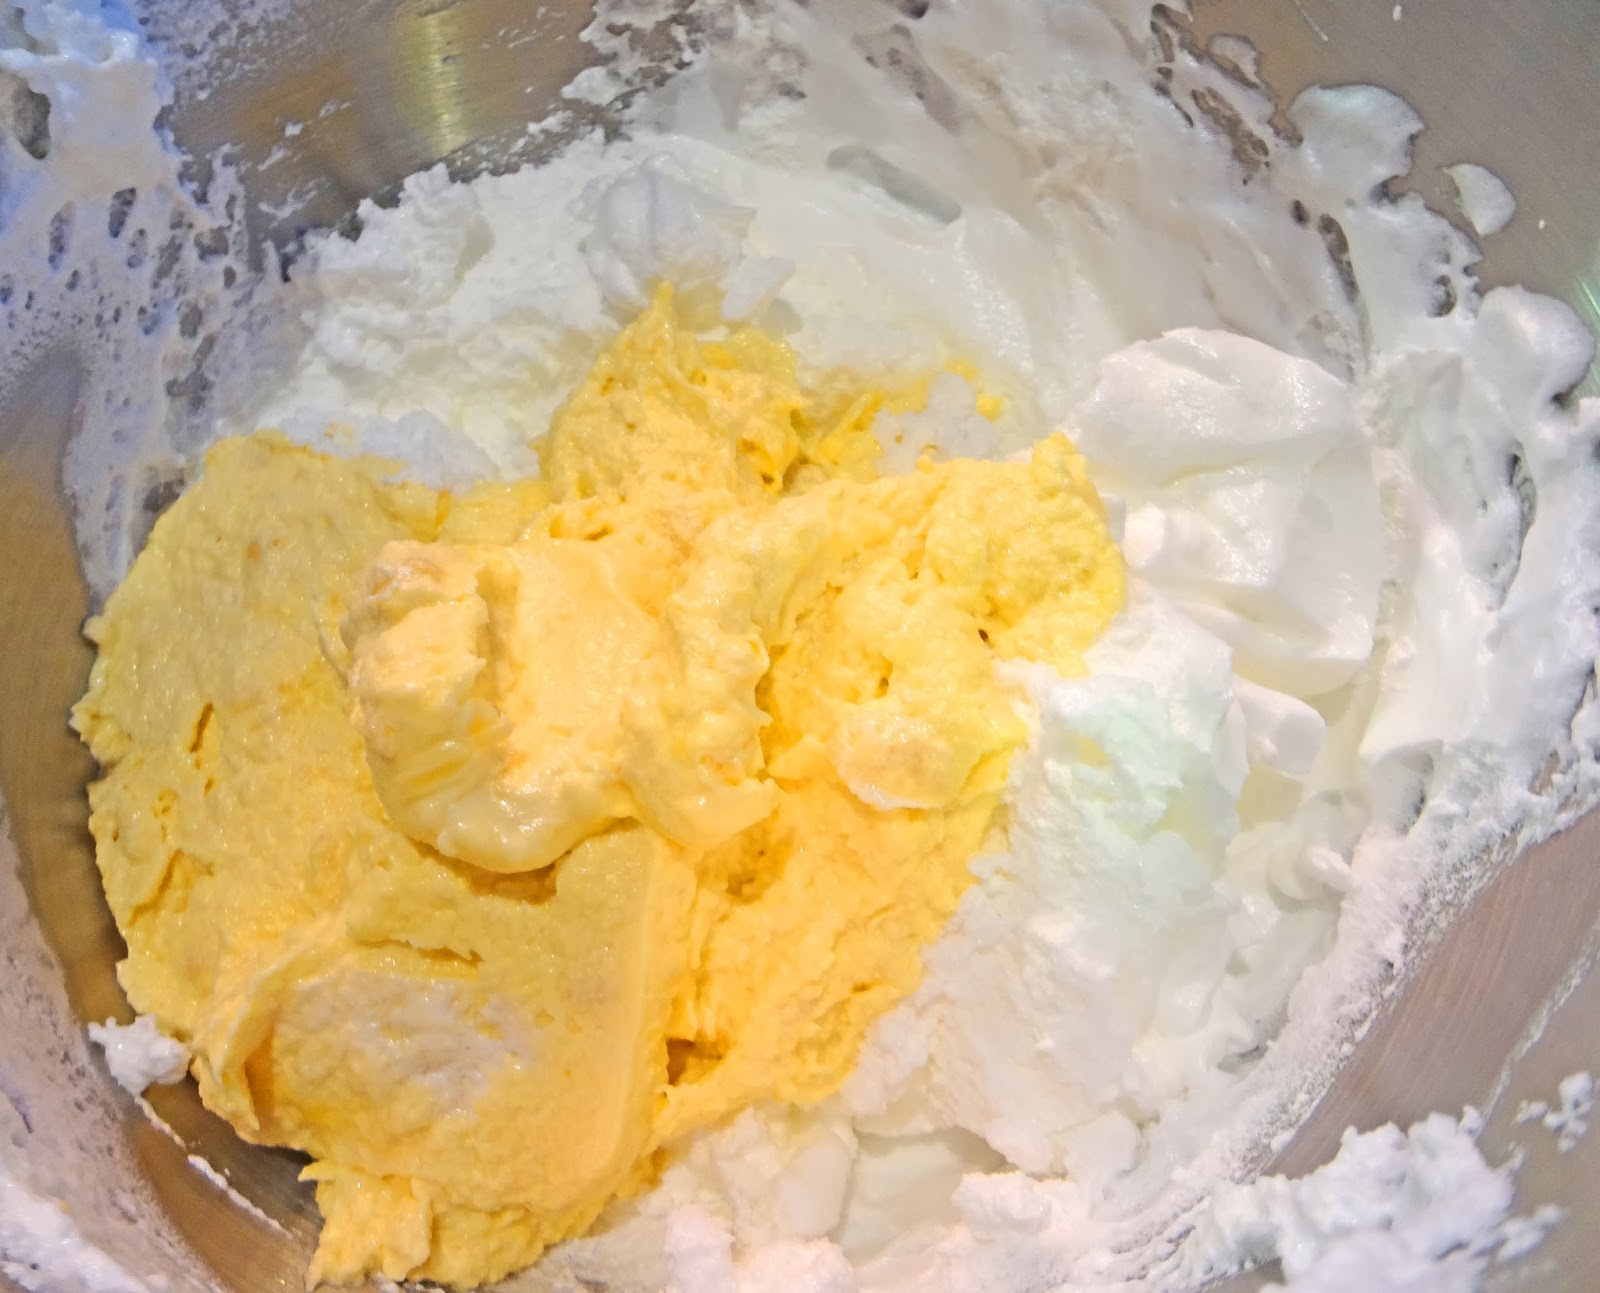
Have another bowl and crumbled marzipan ready. Beat butter until creamy, add confectioner's sugar, vanilla powder and marzipan. Add egg yolks one at a time and beat it well..... hmm color looks nice!  Unfortunately, my marzipan is not good and kind of dry and coarse....next time I'll use another brand...


Next step is important, we need to put together our batter. I mix one third of egg white into butter-egg-marzipan mixture, then fold it and flour back to my remaining egg white.  Its important to fold it gently so it won't deflate too much....of course a bit deflation is inevitable!


Now, we are heading to the fun part.... bake our cake in 10 to 12 times to build up lovely layers. First I weight my batter and smear one tenth of my batter by weight in the pan. I baked each layer for about 5 minutes... tell you the truth, kind of labour intensive and need some patience... but worth it.  Make sure you have enough time, so after an hour or so of repeating baking all my batter.....
Wow.... a lovely golden brown Baumkuchen is born! It looks so amazing.... my cake layers look a bit uneven, as I told you guys before, my marzipan a bit dry and coarse, but it still looks great and smellll yummy!  I let my cake sit on a rack to cool down , trim it and wait for the final step.... later!

I am nearly done.... feel so exciting. Just need to re-warm my nappage and cover the top; then re-heat my dark chocolate glaze, pour and spread a thin layer on top and that's it. Hmm... my  Baumkuchen looks really pretty now!  As usual, its better to wait until next day before taste a bite.... but this cake just need to store at room temperature air-tight and it will be fine... I've tried store my previous one in fridge but they turn out to be bone dry! Freezing is okay as long as you wrap it properly. Let me have a sweet dream about Baumkuchen...... yummy...... yummy..... zzzzz

Time for tasting, I have a nice cup of Kusmi Earl Grey ready. Slice it carefully and decorate with a small edible gold foil on a nice plate... hmm almond flavor layers, a hint of orange liquer and dark chocolate making this Baumkuchen taste amazing!  I wonder I should get a bigger cake pan instead of scale down the recipe, because I think I don't have enough Baumkuchen!

Enjoy!
Notes and recipe within recipe.....

nappage (glaze)

  • 67 g apricot jam
  • 47 g water
  • 20 g orange liquer (or any liquer you like)
directions
  • heat your jam with water until it melts
  • add in your liquer, keep cooking gently a  bit
  • strain your nappage and you're done